For a long time I have wanted to combine my two favourite things and knit a cat. If only I could get around to working out how to do it. Of course, I could have just bought a pattern and knitted a cat. But for me that would be a cop-out. I’m supposed to be a designer, after all. I looked around the web for knitted cat patterns. There weren’t very many out there, and in any case, typical me, I wanted to do it in my own way.
There are so many creative decisions to be made for a project like this. Firstly I had to decide how much detail to include. I could knit a blob with ears and a tail and it could be a cat. Or I could go for a lifelike, every-last-detail design. The more detail you include, the more parts there are to knit and sew together. You could end up with a complicated design which requires a lot of tiresome fiddling around. It might be a great result, but complex construction can be very off-putting.
So I had to decide on a basic shape, and then decide which details should be included whilst keeping the design as simple as possible. I took some time out from the studio and had a cup of tea in the garden. I have a cute garden ornament in the shape of a cat. Actually, it is not in the shape of a cat at all, it is just a sphere with a cat’s face on it and a couple of ears. Uh….bingo! There was my knitted cat, right there. Inspiration strikes!
I really wanted to nail this design so I took the rest of the week off my day job and shut myself in the studio. I knitted for 8 hours with barely a break. I got a blister on my left index finger where I push at the needle with every stitch. I didn’t even realise I did this!

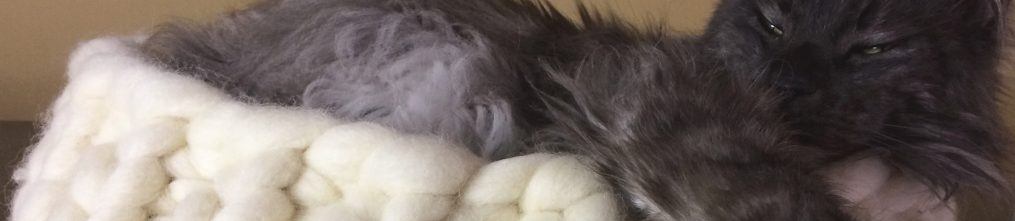
Herbie helping me in the studio
I worked the bottom circle in the same way as my cupcake. With some well-placed shaping, I added a snout panel – a protrusion to indicate the cat’s muzzle. I knitted up a couple of test snout panels before I was happy with the size and shape.
The decreases for closing the cat’s head were tricky to get right. I can only work out shapings like this by writing out every stitch on squared paper and counting out the decreases row by row. I wasn’t sure how steep the sloping should be. The first attempt wasn’t right so it got unpicked. More squared paper. I tried again, not sure if the snout panel was at the right height or not. Fortunately this time the shaping worked well, and it so happened that the snout panel landed neatly in the centre of two decreases, as if I had planned it. A lucky accident like that spurs you on.
The ears were easy, but the paws took five attempts to get right. It had to be a strange shape with corners which when folded over achieved exactly the shape I was after. Next job was the face. There was no getting away from it – it had to be embroidered on, and it had to be right, because the whole design depended on an appealing face. Several attempts later, I was satisfied with it. Then I added a tail, and voila!


I’m already looking at my yarn stash and sizing up which yarns to use on the next version. I may go fluffy.
I love the patterns which emerge in stocking stitch when you are shaping with increases and decreases. Those fluid vertical lines merge and separate in a very pleasing way. Knitters, you know what I’m talking about….
Till next time,
Lx